Are you thinking about a personal website for your freelance translation business but don’t know where to start? In this post, I prepared a comprehensive instruction on how to start a WordPress website even if you have no idea about website building.
Many translators already have personal websites and use them to promote services online. A personal website is not just an online business card or a portfolio – it is a complex tool aimed to enhance your online presence and bring new clients. Of course, you may still use offline marketing techniques for this purpose, but who said you can’t get benefit from online marketing tools and methods too?
Well if you’re ready to start your first WordPress Website, follow the instructions below and you will get a website up and running in about 5 minutes!
Choose a Hosting Provider to Start a WordPress Website
The first thing you need before you can start a WordPress website is a place to store website files, in other words, you need to purchase a hosting space. Selecting a good and reliable hosting provider is very important for your website since many aspects of website operability
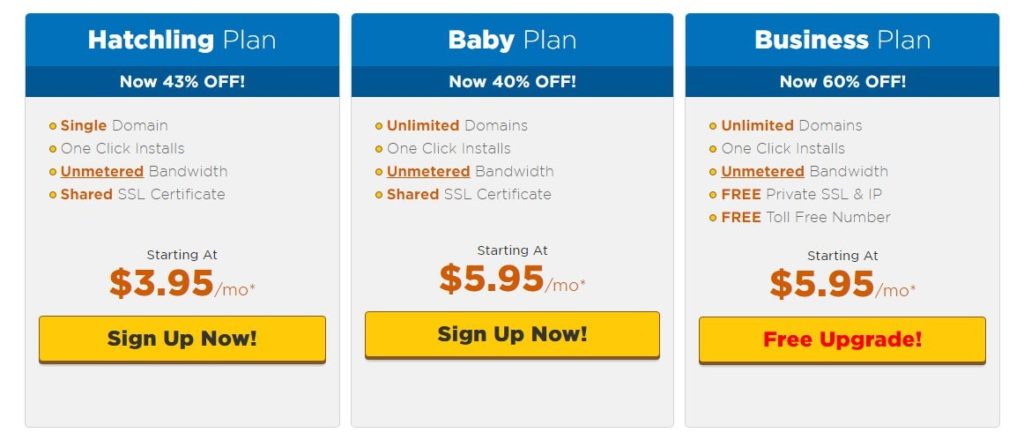
I recommend HostGator – one of the best hosting providers according to Wpbeginner.com. HostGator hosts over 8 million domains and is one of the most popular web hosts in the industry. With 1-click WordPress installation, 99.9% uptime guarantee, and 24/7 support, it is a smart choice for every website owner.
Use the link below to get a discount for your new hosting package. You can get up to 43% discount depending on the billing cycle. If you choose
Once you clicked the link, you will be redirected to HostGator’s WordPress hosting page where you can make your order.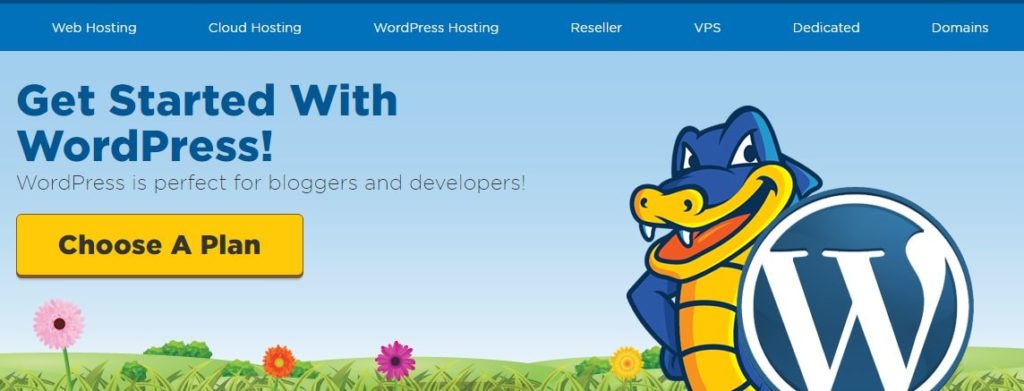
Since you need a personal website, you may select a Hatchling Plan. This is a perfect plant to start with. Click
On the next page, you can register your domain name or use a pre-purchased domain, if you have one.
Purchase a Domain Name
Domain name is an address of a website.
I already provided recommendations that will help you to choose the right domain name. You can find them in my previous post as well.
Enter your new domain name in the relevant field and choose a domain zone from a drop-down list.
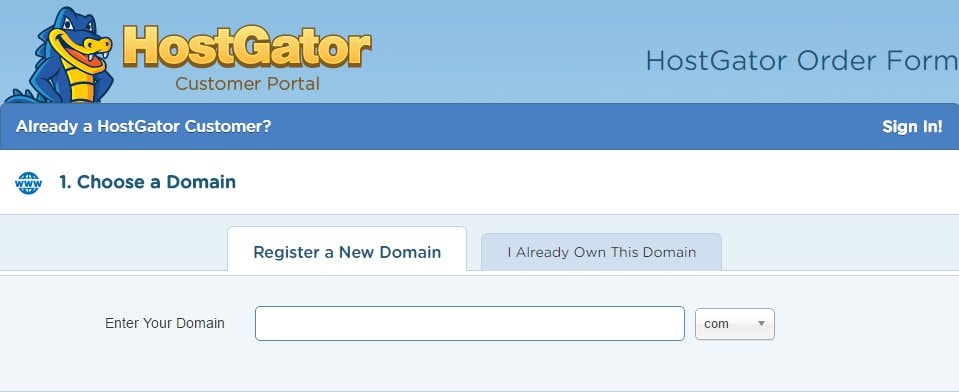
Your new domain will cost something about 10-15 US dollars per year depending on the zone. Please, note that your domain will start working within 24-48 hours due to DNS propagation, however, you can start a WordPress website right after you purchase your domain.
Purchase Hosting to Start a WordPress Website
To continue with registration you need to choose the type of hosting package (Hatchling), billing cycle (36 months to get the best discount), enter preferred username and security PIN.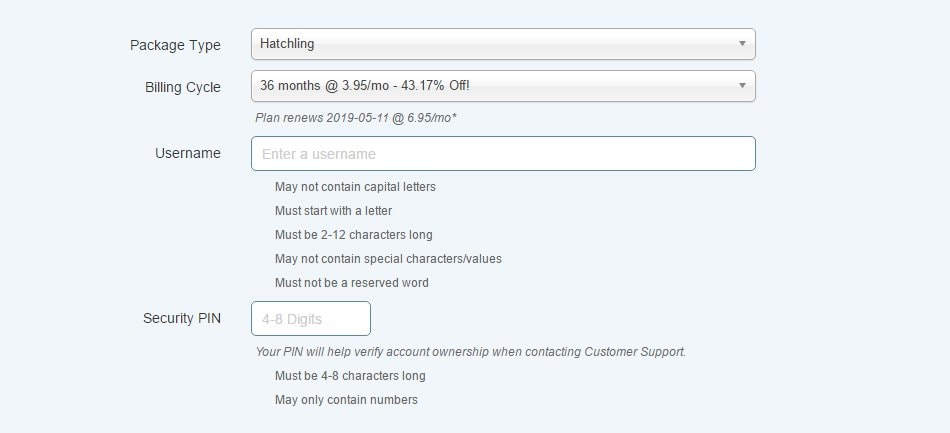
Then enter your billing info.
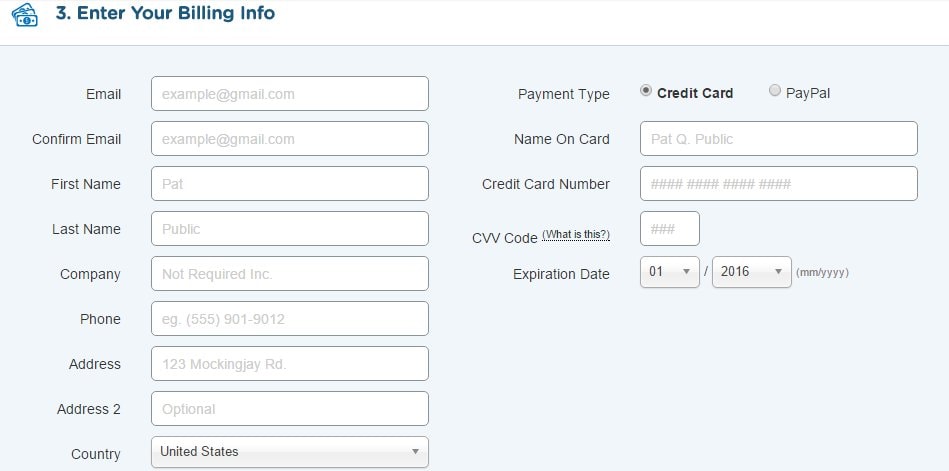
Hostgator offers additional services, e.g. anti-hacking protection, https protocol, Gmail, etc. You may select or uncheck them. Frankly speaking, you can ensure website security using plugins. Purchasing https protocol is not feasible for personal websites at least
If you clicked referral link above, you will also see a discount coupon code automatically added in the relevant field.
Finally, review your order details, read and agree with terms of service and continue to
As you can see on the screenshot, the total cost of 3-year hosting (without domain) will make only $142 with all discounts applied (may vary depending on additional services and HostGator policy changes).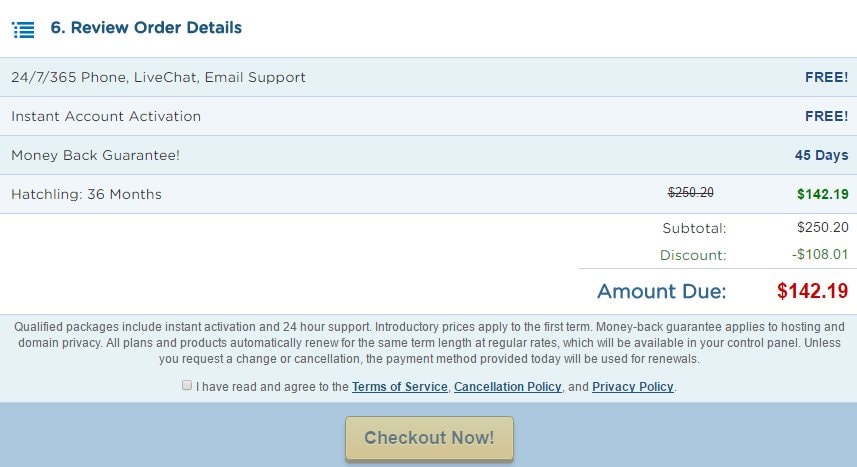
Start a WordPress Website
Now that you have a domain name and a hosting, you may start building your website. However, before that, you need to install WordPress CMS on your hosting. In a few words, WordPress is a basis of your website – it is a content management system used to create web pages, set up a visual representation of a website and manage all other aspects of your website. You can learn more about WordPress CMS on Wikipedia or on WordPress.org.
HostGator provides an easy one-click installation that will help you to install WordPress on hosting. After registration, you will receive emails with all
To start a WordPress website you may use a tutorial video or follow the instructions below:
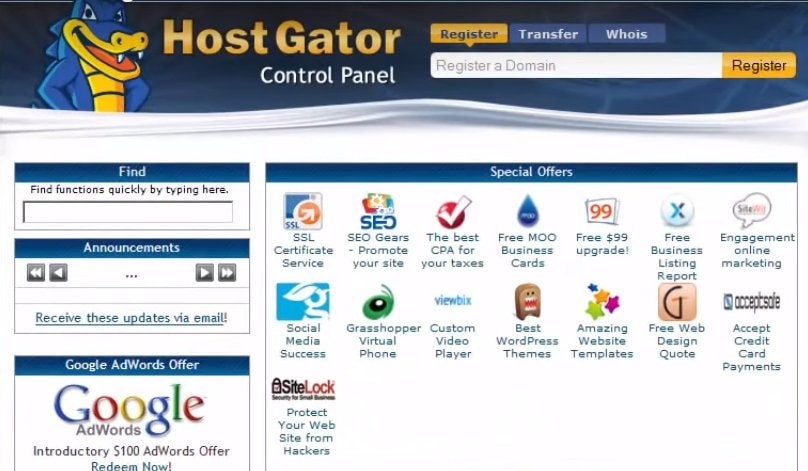
To run WordPress installation you need to log into your cPanel:
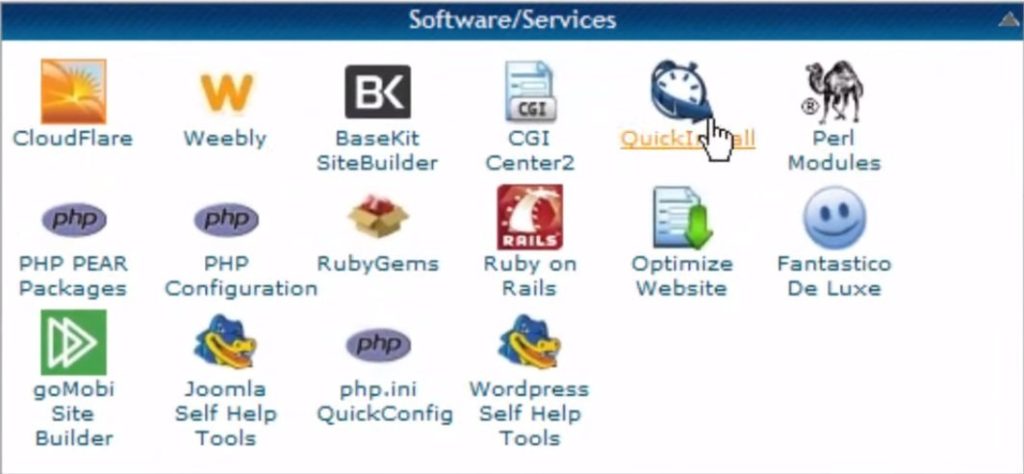
Scroll down to the Software/Services section, click on the Quick Install icon:
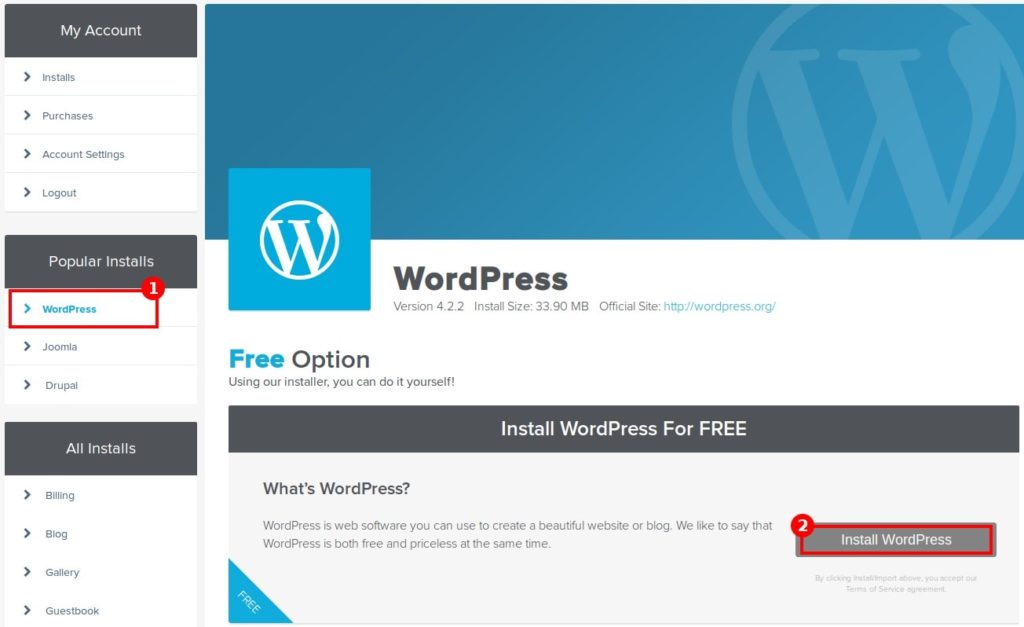
In the left menu, under Popular Installs, click WordPress, then click Install WordPress:
Complete the form that appears with relevant details:
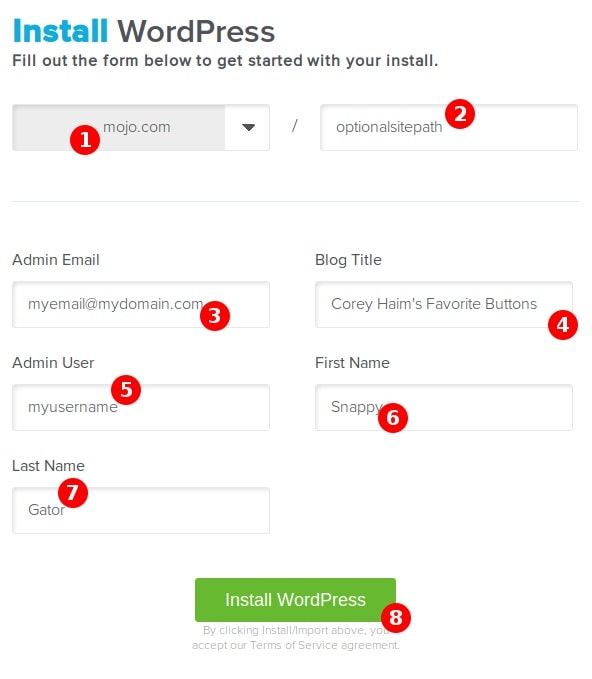
- The main domain for your installation (use a drop-down list to select yours).
- The subdirectory you would like the site to load from (leave empty).
- For Admin Email, enter an email address where you want the admin password emailed to. Make sure this is a working email address.
- For Blog Title, enter the name of the website. This is what will appear in the header as the name of your site.
- For Admin Username, enter your preferred username.
- Your first name.
- Your last name.
- Click Install WordPress when you’re ready to proceed.
A progress bar at the top of the page will let you know when installation is complete. Once complete, you will be able to start working on your WordPress site. Check your email for your WordPress username and password as well as a link to your WordPress dashboard.
That’s all! Now you’re a happy owner of a new website!
Do not forget to share this post with your friends and colleagues, and subscribe to SFT newsletter if you haven’t done this yet!
