In the first post about our Facebook Page Challenge, I prepared a set of instructions to help you create your first business page. There were over 60 members willing to take part in the challenge. Some of them already had Facebook business pages, others created their new pages from scratch. However, both types of participants were very active. Thanks a lot for your questions and comments.
Today I would like to continue with fine-tuning your page. From this post, you will learn how to customize your page using General Settings tab.
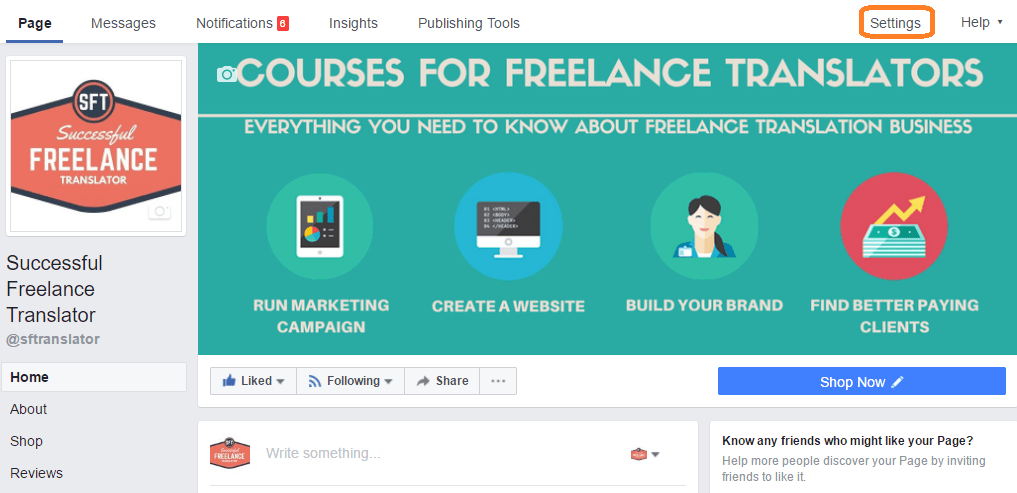
First, load your Facebook page and click Settings menu item in the upper right corner of your page. You will be redirected to General Settings tab to customize your page.
Let’s consider each item in details:
Shortcuts
If you take your Facebook business page seriously, you will be using it quite often. This option allows pinning your page to Shortcuts menu located in the left sidebar on a Facebook home page.
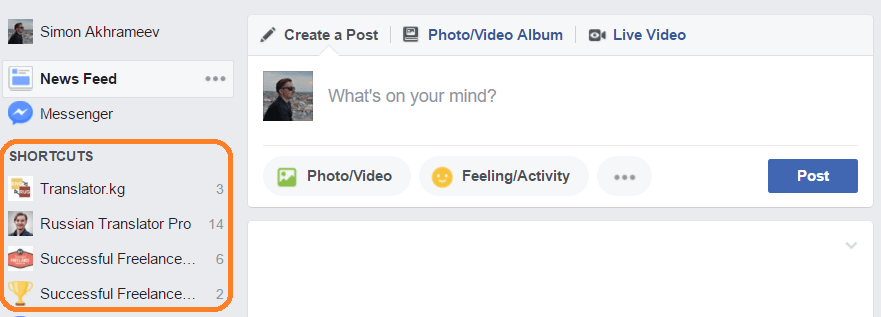 This option is switched off by default. Check the box “Pin Page to your shortcuts”.

Page visibility
Currently, your page is published for all people. You can check “Unpublish” to make it visible only for people added in a Page Roles tab. This option is useful when you want to rebuild your page completely and hide the process from your visitors.
Visitor posts
If you want your visitors to publish the posts on your page, you can switch on this option. However, my recommendation is to check the box “Review posts by other people before they are published to the Page” to prevent spam.

Audience optimization for posts
This option is available for all English-language pages. By default, it is switched off. The option includes three features: selection of the preferred audience, audience restrictions and audience insights.

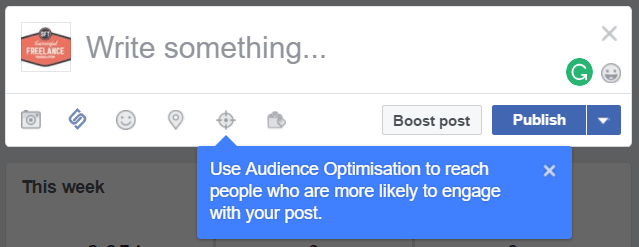
The first feature allows to set up the preferred audience in your Page composer.
The second feature is a self-explanatory one. You can limit the visibility of your page content to specific segments including age, gender, location, and languages.
The last feature allows to monitor and analyze your post performance depending on targeting options you selected for the first feature.
Messages
Switch on this option to enable messaging function for your page visitors. This way visitors will be able to contact you directly from your business page.
 The additional functions like automatic replies can be customized in Messaging tab below General Settings. We will consider it in a separate post.
Tagging ability
If you enable this option, visitors will be able to tag photos and videos published on your page. In my opinion, this feature can be misused by spammers and I do not recommend to switch it on.
Others tagging this Page
Opposite to the above feature, this option allows people to tag your page in their posts, which is good for overall visibility and enhancement of your page coverage. Switch this option on.

Page location for frames
This option allows creating frames for videos and photos at your business location. You can switch it off if you don’t wat people to use your location for frames. You can see how this option works in this video:
Country restrictions
If your business page is designed specifically for certain countries, you can restrict access to your page for visitors from other countries.

Age restrictions
I don’t think that a translator’s page shall have any age restrictions unless you translate primarily for adult products manufacturers and publish relevant content 🙂
Page moderation
Here you can add words to automatically block posts and comments contacting such words.
Profanity filter
This option allows blocking abusing content based on automatic Facebook algorithms. I recommend selecting Medium filtering.

Similar Page suggestions
This option is switched on by default. Leave it as it is. People will see your page as a suggested page to follow when they are browsing similar pages, which is good for you page development.
Page updates
When active, this feature will automatically share all your page updates with your audience: changing page cover pictures, updating information about your address, products, and services, etc.
Post in Multiple Languages
Challenge participants asked questions about translation of posts on their pages. Facebook offers two options. If you switch on Post in Multiple Languages, you will be able to add a language version to your post. This is an immensely useful feature when you publish posts for a multilingual audience.

As a rule, translators can find potential customers both among source and target language speakers, so it makes sense to publish content both for source and target language audience.
Using this feature, you don’t need to create duplicated posts in several languages. You can publish a picture with some text in you source language and then add a manually translated text in your target language. Your visitors will see a new post in a certain language depending on their Facebook language settings.

Translate automatically
You can also switch on machine translation option for your posts. Visitors will be able to translate your posts using an inbuilt Facebook MT engine. However, I know that we – translators – are skeptical about MT and we won’t use it.
Comment ranking
Here you can set up comments showing up first below your posts. If this option is switched off, you will see the most recent comments. If you switch it on, comments will be ranked by popularity.
Content distribution
If you publish videos and don’t want to allow downloading them, turn this option on.

Download Page
Using this option, you can download a copy of all Page posts, videos, photos, and Page information.
Merge Pages
If you have previously created a page with the same purpose and similar name and you don’t want to use the old one, you can merge it with a newly created page. In this case, all posts will be deleted from the old page, but all likes and check-ins will be transferred to the new page. I have not tested this option; therefore, I cannot say for sure how it works.
Remove Page
Finally, if you decided to delete your Facebook page for some reason, you can use this option to do so. You will have 14 days to change your mind and restore the page.
Recommended actions
I have mentioned this option in the previous post. If it is switched on, you will see suggestions to improvement on your page to increase visitor engagement.
Now that you have applied these settings, you have almost completed fine-tuning your page. In the next steps, I will cover the remaining items in Settings menu tabs. In particular, you will learn how to use Facebook page templates, how to set up automatic replies and welcome messages, how to assign page roles and so on.
Please, share this post with your colleagues who want to develop a Facebook page for translation business. Also, do not forget to share your thoughts and questions in the comments section below the post.
I will be glad to answer all your questions. In addition, please, share what you have achieved during the first challenge week (number of likes you got, increased page metrics, etc.).
